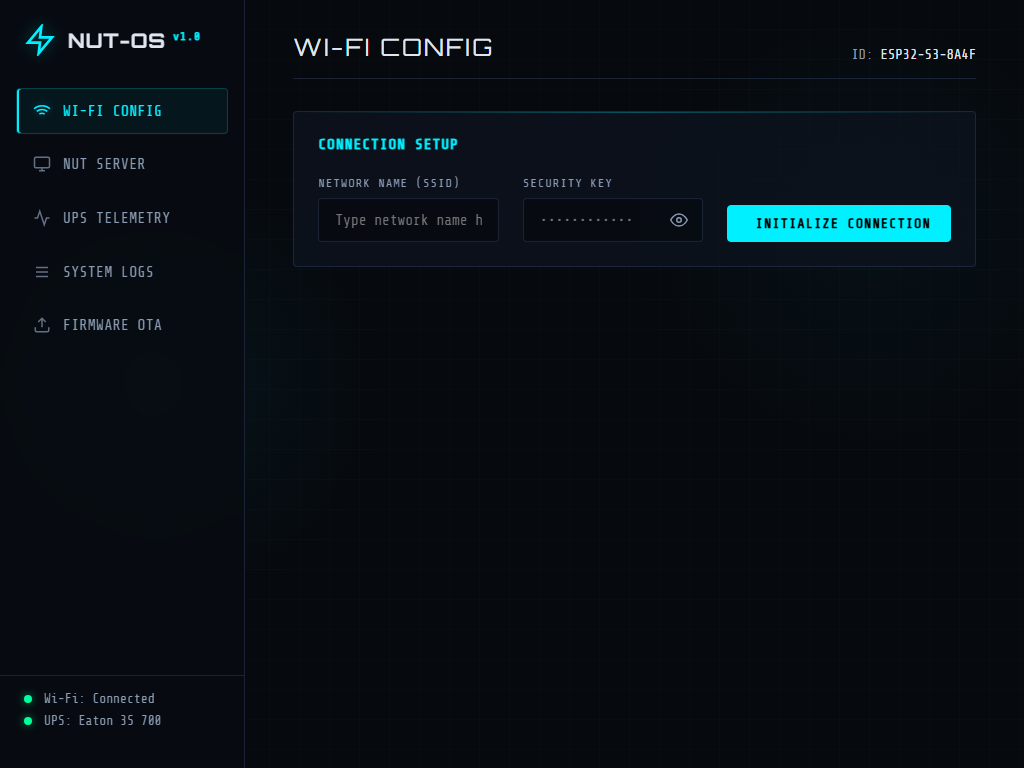
An open-source firmware for ESP32-S3 that acts as a standalone Network UPS Tools (NUT) Server bridge over Wi-Fi. It connects to an Eaton UPS (like the Eaton 3S 700) via USB Host and exposes its data to your local network using the standard NUT protocol (port 3493) and a built-in Web Interface.
This allows you to easily integrate your USB-only UPS into Home Assistant, TrueNAS, Synology, or any other NUT-compatible client without needing a dedicated Raspberry Pi or PC running 24/7.
🌟 Features
- Native USB Host Support: Directly reads HID data from USB-compatible UPS devices (tested with Eaton 3S).
- NUT Server Protocol: Implements the standard NUT protocol, making it instantly compatible with existing NUT clients.
- Web UI & Captive Portal: Easy configuration of Wi-Fi and NUT credentials via a modern, responsive web interface.
- Over-The-Air (OTA) Updates: Flash new firmware versions directly from the web browser without touching the board.
- Diagnostic LED: Visual feedback for Wi-Fi and UPS connection status.
🔌 Supported UPS Devices
The firmware uses the official Network UPS Tools (NUT) HID mappings and supports multiple vendors automatically:
- Eaton (Tested with Eaton 3S series)
- APC (Mapped via standard NUT
apc-hid) - CyberPower (Mapped via standard NUT
cps-hid) - Generic / Other Brands: Any UPS that implements the standard USB HID Power Device class will use a generic fallback driver capable of reading basic stats (e.g., Battery Level, AC Status).
📸 Screenshots
| Wi-Fi Config | NUT Server |
|---|---|
 |
 |
| UPS Telemetry | System Logs |
|---|---|
 |
 |
| Firmware OTA | |
|---|---|
 |
🛠 Hardware Requirements & Wiring
- ESP32-S3 Board: An ESP32-S3 development board is required because it features native USB OTG Host capabilities. Standard ESP32 or ESP32-C3 will not work.
- USB OTG Cable: An adapter to plug the UPS USB cable into the ESP32.
Typical Dual USB-C Board Setup (e.g., Generic ESP32-S3 DevKit)
Many generic ESP32-S3 boards with two USB-C ports have hidden solder pads on the back to enable Host mode. To achieve a clean setup without manually soldering wires to GPIOs:
- Solder the "USB-OTG" pads: Find the two pads labeled
USB-OTGon the back of the board and bridge them with solder. This routes 5V power to theUSBport, enabling it to act as a Host to power the UPS USB interface. - Solder the "RGB" pads (Optional): Bridge the
RGBpads if you want to enable the built-in status LED. - Power: Connect a USB wall charger to the port labeled
COM(orUART). - Data: Connect a USB-C OTG adapter to the port labeled
USB, and plug the UPS into it.
3D Printed Case (Optional)
Turn your bare ESP32-S3 board into a finished product! We have designed a sleek 3D-printable case for this project.
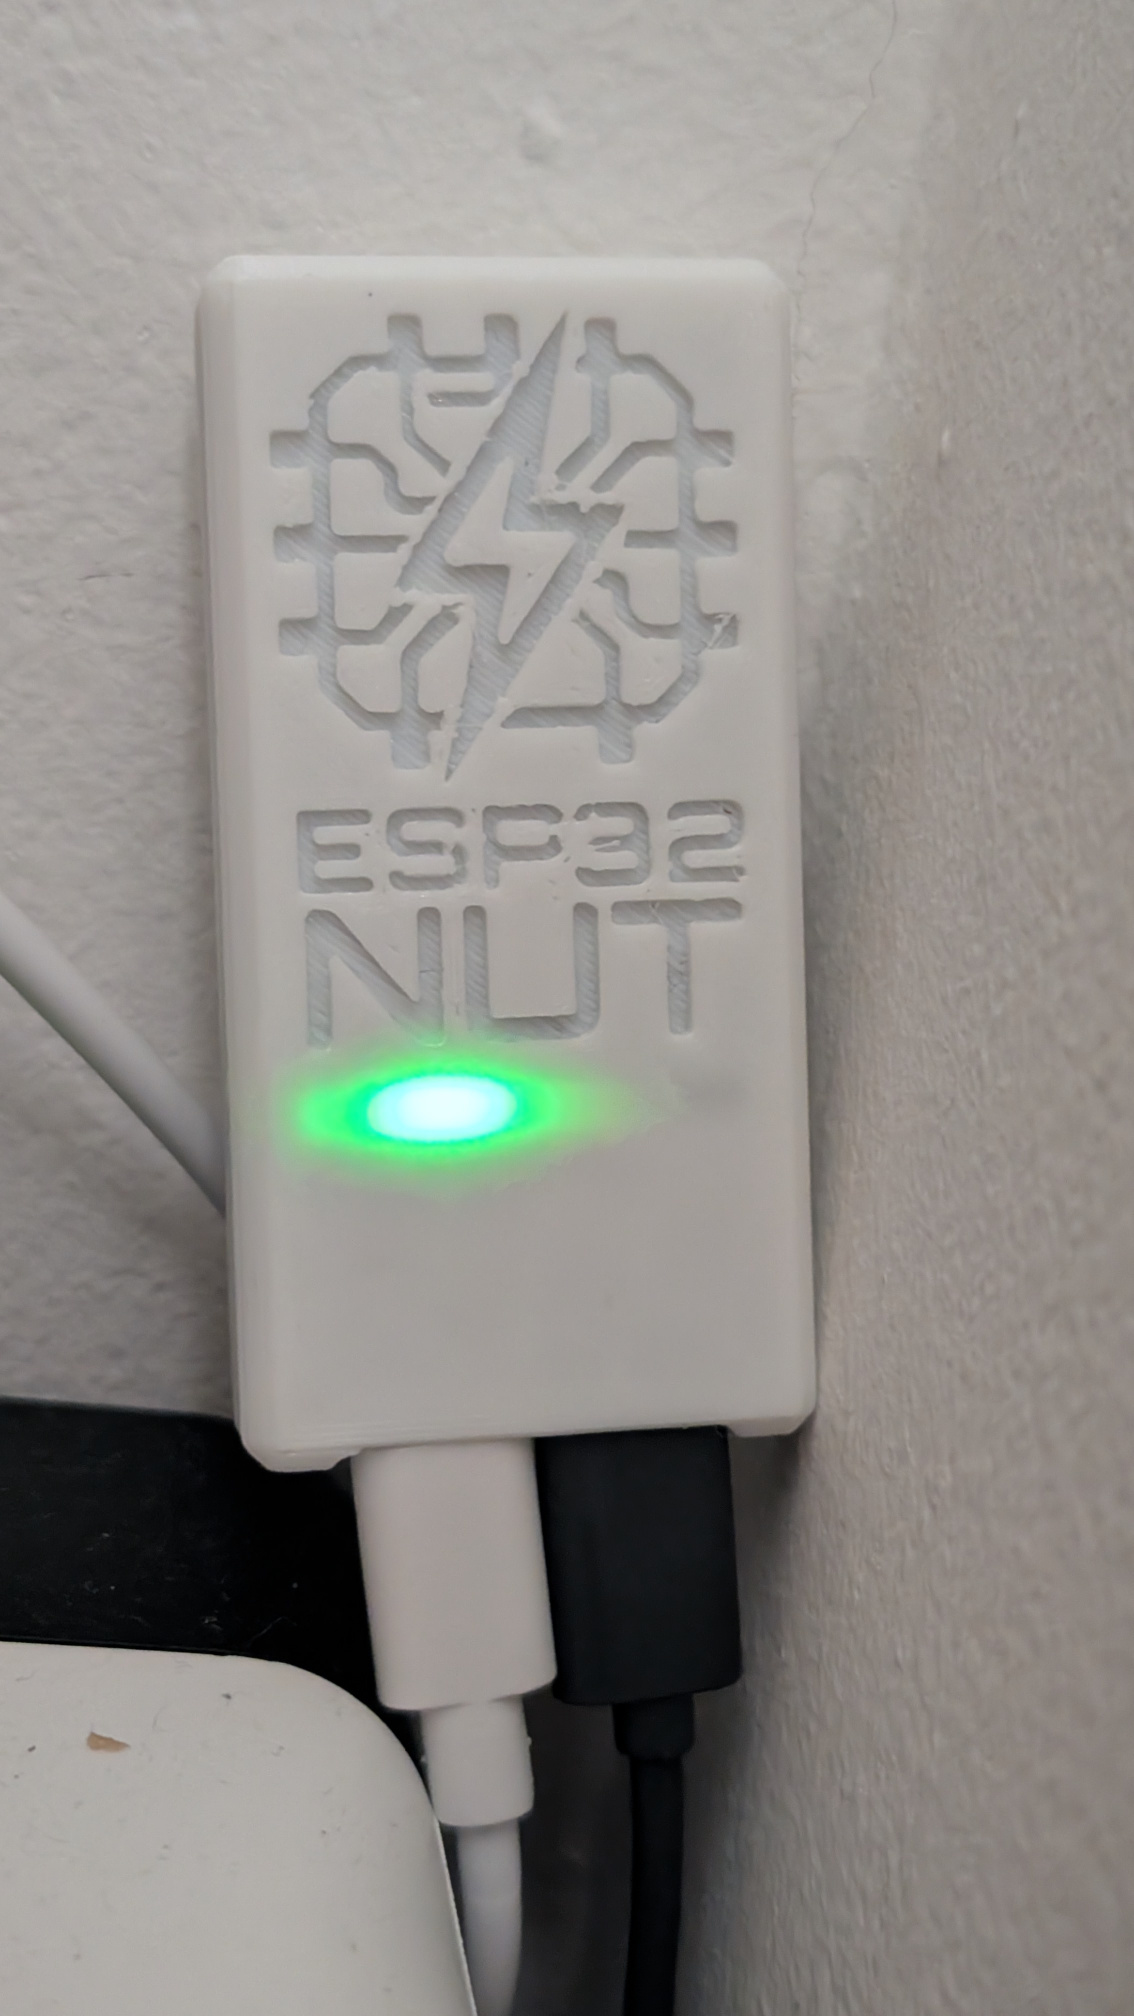
Download the ready-to-print files from your favorite platform:
Source .3mf models, original .f3d CAD files, and additional photos are available in the hardware/case directory.
🚀 Getting Started
1. Flashing the Firmware
Option A: Zero-Click Install via Browser (Recommended) You can install the firmware directly from your browser without downloading any tools! 👉 Install via Browser
Option B: Manual Build via PlatformIO
- Clone this repository.
- Open the project folder in VSCode with the PlatformIO extension.
- Connect your ESP32-S3 to your PC (using the UART/UART-Prog USB port).
- Click Build and then Upload.
2. First Boot & Configuration
- On first boot (or if it cannot find a known Wi-Fi network), the ESP32 will create an Access Point named
NUT_ESP32_Config(Password:12345678). - Connect your phone or PC to this Wi-Fi network.
- A captive portal should automatically open. If not, navigate to
http://192.168.4.1. - Enter your home Wi-Fi credentials and set your preferred NUT Server username/password.
- Save and reboot.
3. Usage
- Once connected to your home Wi-Fi, the ESP32 will grab an IP address from your DHCP server.
- Web Dashboard: Navigate to the ESP32's IP address in your browser to see real-time UPS stats (Battery level, Voltage, Load, etc.).
- NUT Client: Configure your Home Assistant or NAS to connect to the ESP32's IP on port
3493using the credentials you defined.
📄 License
This project is licensed under the MIT License - see the LICENSE file for details.
Comments