A self-contained air quality monitor that plugs into Home Assistant and displays results locally might sound like a niche DIY project, but for anyone serious about indoor environmental data, it solves a clear set of problems. The aq-monitor project provides exactly that: a hardware and firmware package built around an ESP32-S3 that continuously tracks CO₂, temperature, humidity, VOC/NOx index, particulate matter (PM1.0, PM2.5, PM10), and ambient light. It pushes all this data to Home Assistant while showing a rotating dashboard on a built-in OLED screen and exhausting air through a small fan to keep its own sensors accurate. The design is published in full, from the bill of materials to the YAML configuration, so you can build, flash, and integrate a unit in a few deliberate steps.
Key capabilities
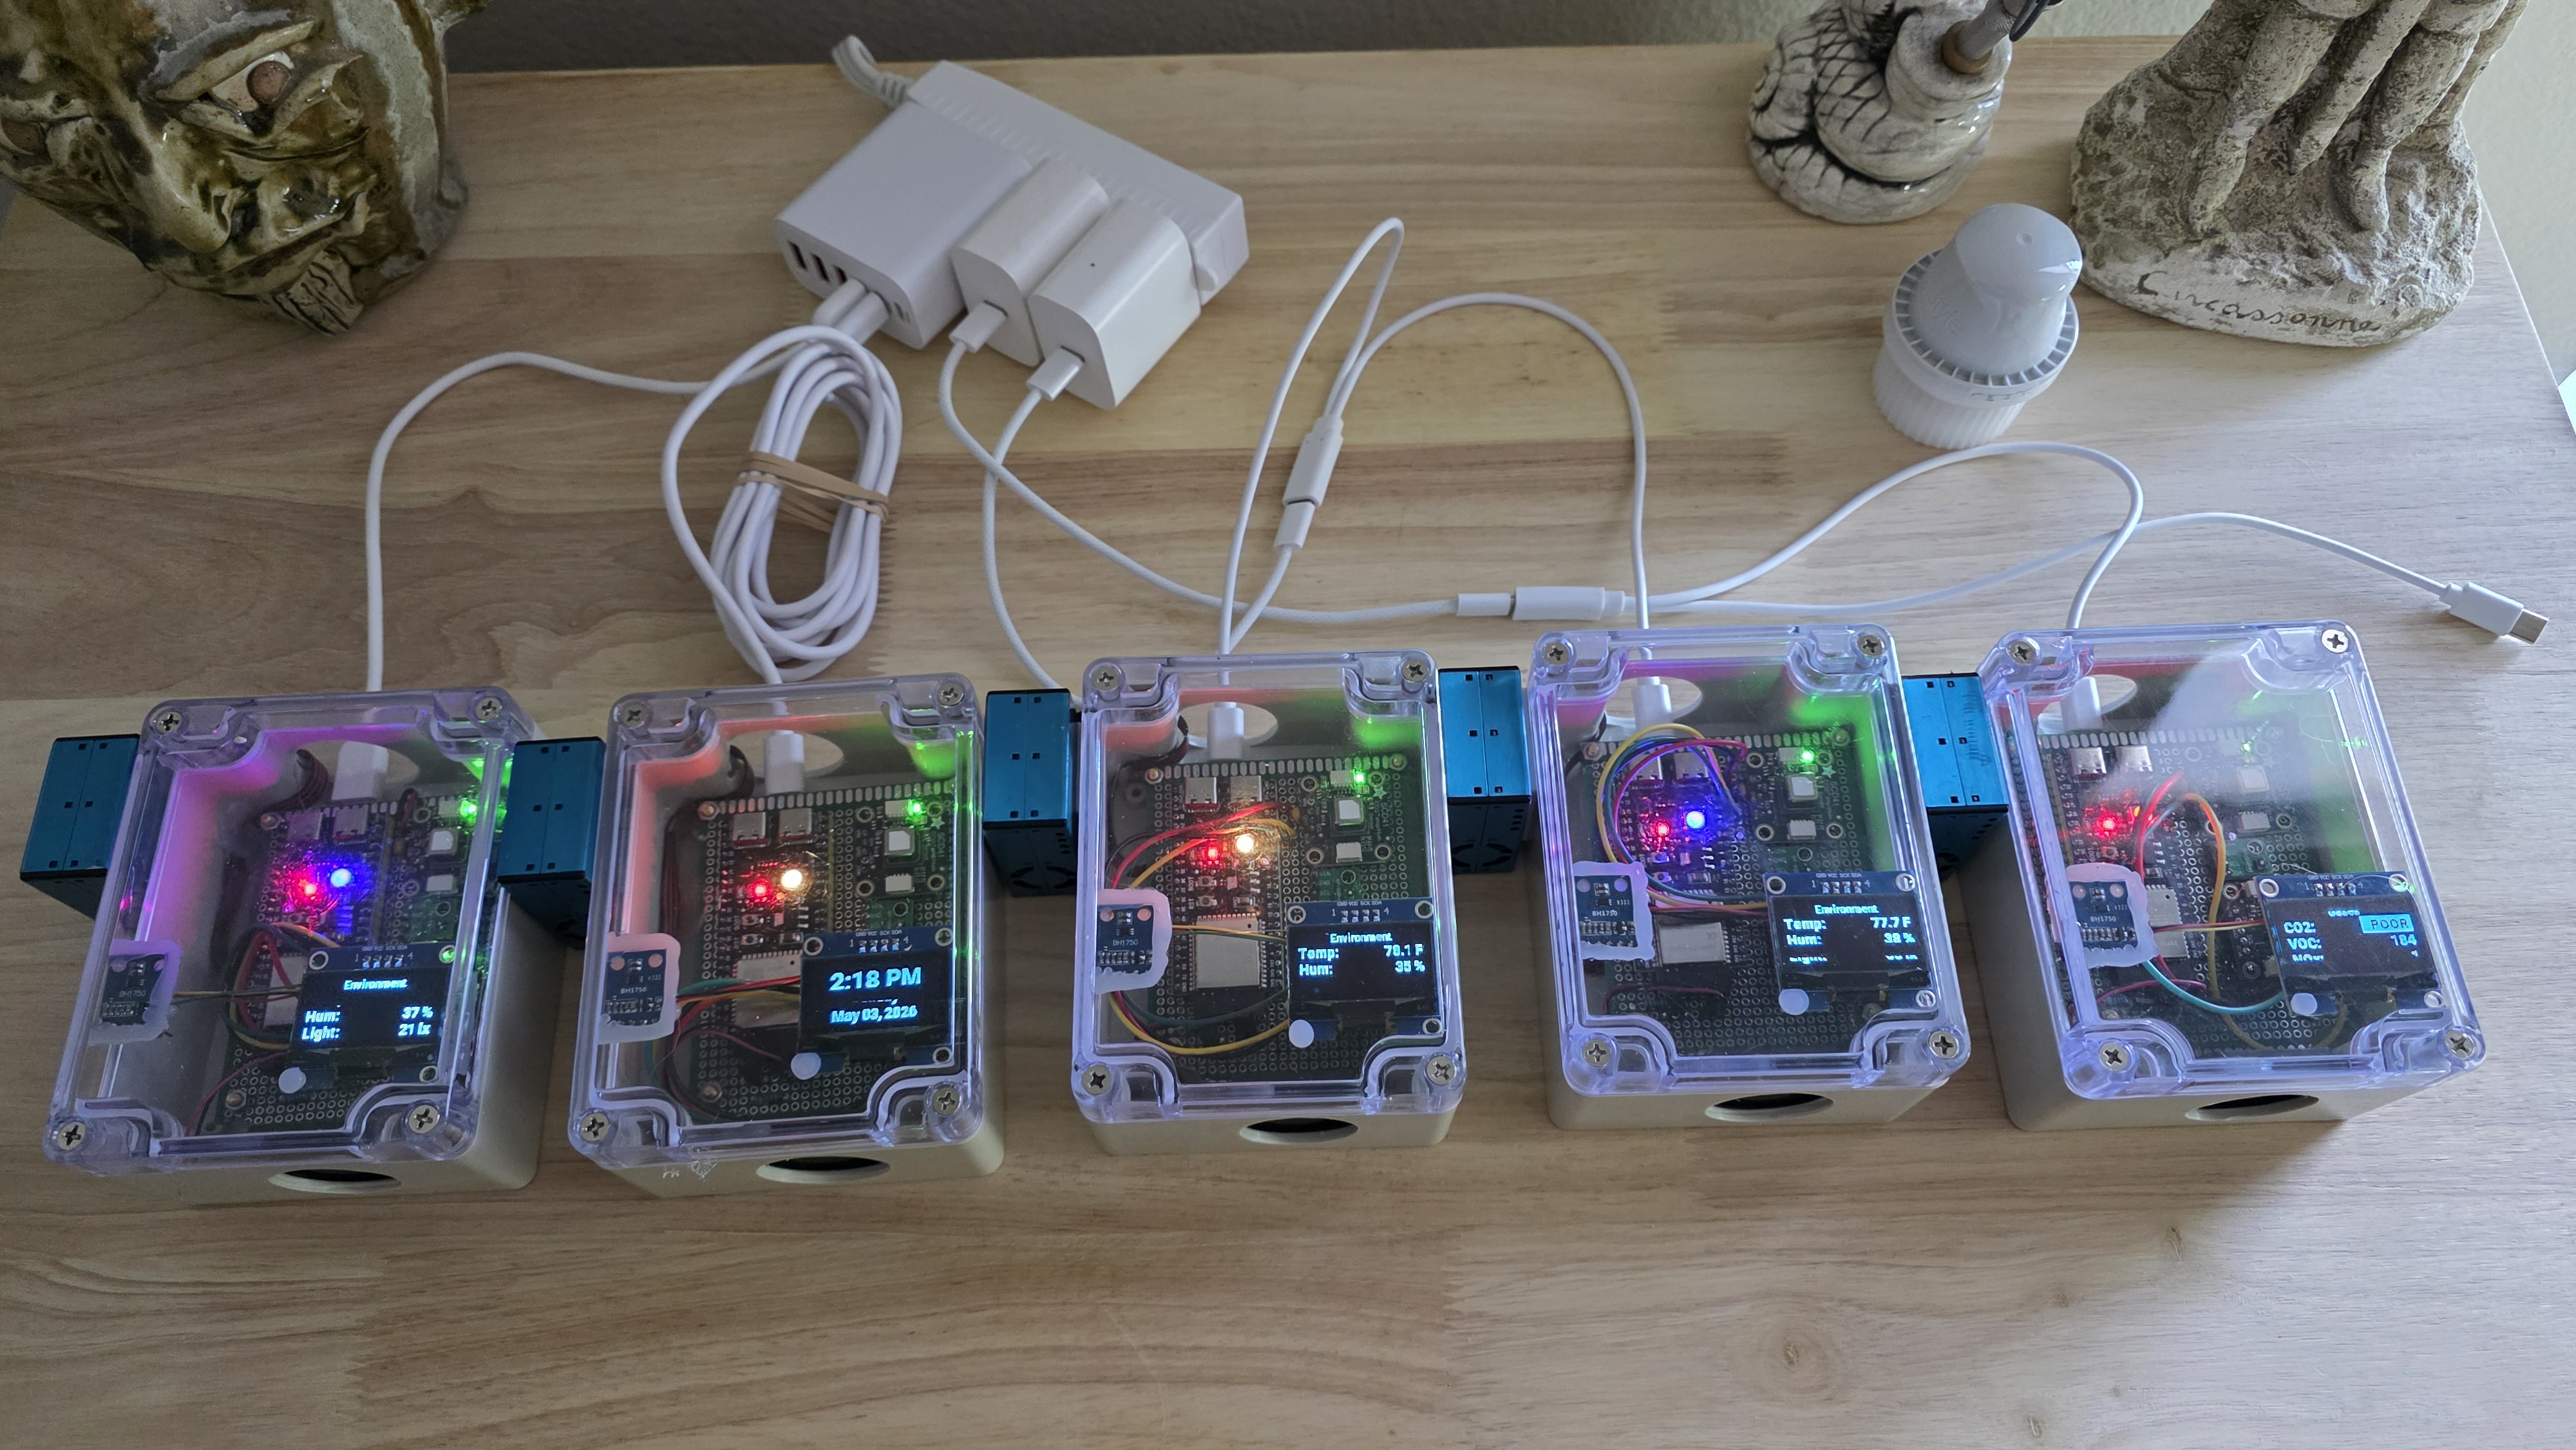
The project is more than just a sensor array. Its concrete features include:
- A complete hardware stack centered on an ESP32-S3, five I²C sensors (for CO₂, temperature/humidity, VOC/NOx, ambient light, and the OLED display), a UART-connected Plantower particulate sensor, and a transistor-driven 30 mm fan—all sealed in an IP65-rated ABS enclosure with a USB-C power inlet.
- Firmware logic written in ESPHome that rotates through multi-page displays (clock, environment, gases, particulates), triggers reverse-video FAIR/POOR alerts on the screen, and uses an RGB status LED for quick visual status. It also implements
delta:filters that cut Home Assistant traffic by roughly 70% without losing the usefulness of dashboard graphs. - Home Assistant integration that comes with a ready-to-paste Lovelace dashboard featuring live tiles, gauges, and 24-hour history graphs. It also includes automations for automatic recovery if the SCD41 CO₂ sensor hangs (a known firmware issue) and for offline-device notifications.
These elements are documented in a four-part guide covering hardware selection, physical assembly, firmware decisions, and wiring diagrams—leaving little ambiguity about how each piece functions.
How it works
The architecture is deliberately straightforward: all sensing and processing happen on a single ESP32-S3 development board. The choice of an S3 over older ESP32 variants likely provides more GPIO and processing headroom for managing multiple I²C devices and the UART particulate sensor while driving the OLED. Power is distributed in two domains—5V for the USB-C input, ESP, particulate sensor, and fan; 3.3V for the I²C sensor cluster—with clear wiring diagrams provided to avoid mistakes.
The firmware, defined in a single aq-monitor.yaml file, handles everything from sensor reading to display rendering. A notable design decision is the use of ESPHome’s delta filter for each sensor. Instead of reporting every minor fluctuation, it only sends updates when a value changes by a configured threshold, which the README states reduces network traffic by about 70% while preserving the fidelity needed for historical graphs. The SCD41 CO₂ sensor is operated in low-power periodic mode, but this can lead to occasional hangs; the included automation restarts the sensor via a simple ESPHome service call when it stops responding.
On the Home Assistant side, the integration is managed through YAML configurations rather than custom components. The dashboard is a single Lovelace YAML file that organizes all metrics into logical sections. Two simple automations—copy-pasted into HA’s automation editor—handle the SCD41 recovery and send notifications if a device goes offline. This approach keeps dependencies minimal and fits neatly into existing HA setups that already use packages or raw YAML.
Who it fits / Who it doesn't
This project is a strong fit for a specific kind of user: the hands-on DIY enthusiast who is comfortable with soldering, reading datasheets, and managing a codebase. The README’s detailed hardware guide—including discussions on sensor quality and GPIO assignments—assumes you’re building from components, not buying a pre-assembled product. The author reports running nine units successfully, which speaks to the design’s repeatability, but also implies a commitment to assembly and testing.
It is not for someone seeking a plug-and-play solution. Commercial air quality monitors like Awair or Airthings offer similar data with zero setup, though they lack the open-source flexibility and deep HA integration this project provides. Nor is it ideal for those who only want a simple sensor feed without the local display or fan; the hardware is intentionally over-specified for that use case. The known limitations—such as the SCD41’s periodic hang and potential WiFi quirks with certain ESP32-S3 boards—are documented, but they require attention during setup and occasional monitoring.
If you value transparency, customization, and the ability to modify every aspect of the monitor’s behavior, this project deserves attention. If you prioritize convenience or lack the tools and time for a hardware build, you’ll likely find it more effort than it’s worth.
Setup, briefly
Getting an aq-monitor unit running involves four main phases: assembling the hardware from the provided BOM, flashing the ESPHome firmware (after adjusting the altitude compensation for your location), adding two automation scripts to Home Assistant, and installing the Lovelace dashboard. The README contains all necessary links, commands, and YAML snippets—this article won’t reproduce them step-by-step. The process is documented exhaustively, but it is not a trivial undertaking; plan for a few hours of focused work from a printed guide.
Where it lands in the ecosystem
In the landscape of open-source environmental monitoring, the aq-monitor occupies a sweet spot between simplicity and comprehensiveness. Projects like the ubiquitous “ESPHome air quality sensor” often track only CO₂ and temperature, whereas this one integrates particulate detection and VOC/NOx indices alongside a local UI. It sits alongside other HA-focused sensor suites but differentiates itself with the fan-forced airflow design—a practical touch to ensure consistent sensor readings—and the traffic-reducing delta filters, which are a considerate optimization for network and HA performance.
For developers and hobbyists already embedded in the Home Assistant world, this project offers a mature, well-documented path to a capable, multi-parameter monitor without relying on cloud services. The design choices reflect a builder who has iterated the concept to stability across multiple units. While it demands more upfront effort than a commercial device, the payoff is full control and deep integration.
The source is on GitHub.
Comments