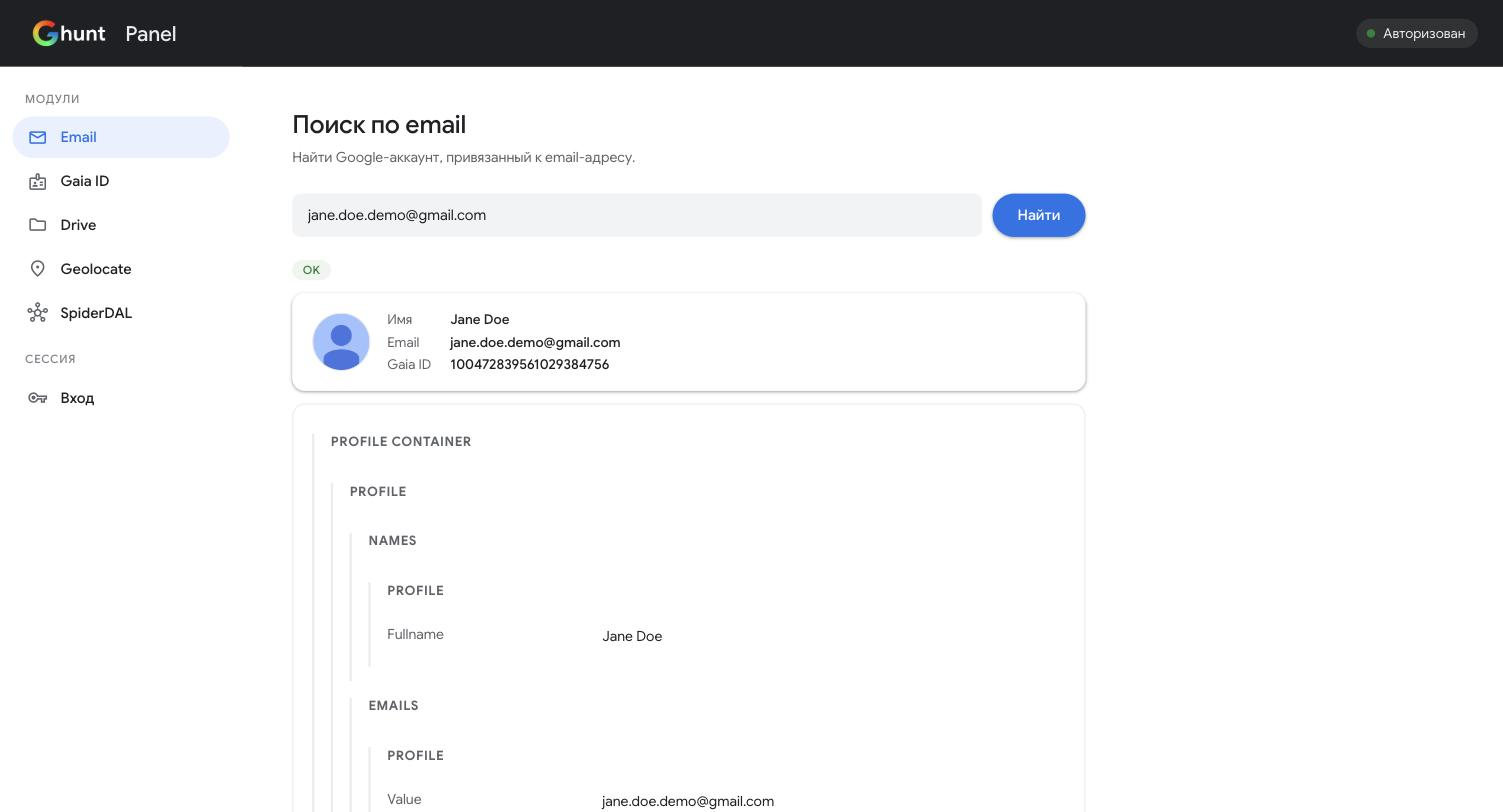
A local, self-hosted web UI for GHunt — mxrch's OSINT
framework for investigating Google accounts. ghunt-panel wraps the ghunt CLI in a
small Flask app so you can run lookups, read the results, and manage your login session
from a browser tab instead of a terminal.
This project does not reimplement any of GHunt's investigation logic — it shells out to
the real ghunt binary and renders its --json output. All credit for the actual OSINT
work goes to mxrch/GHunt.
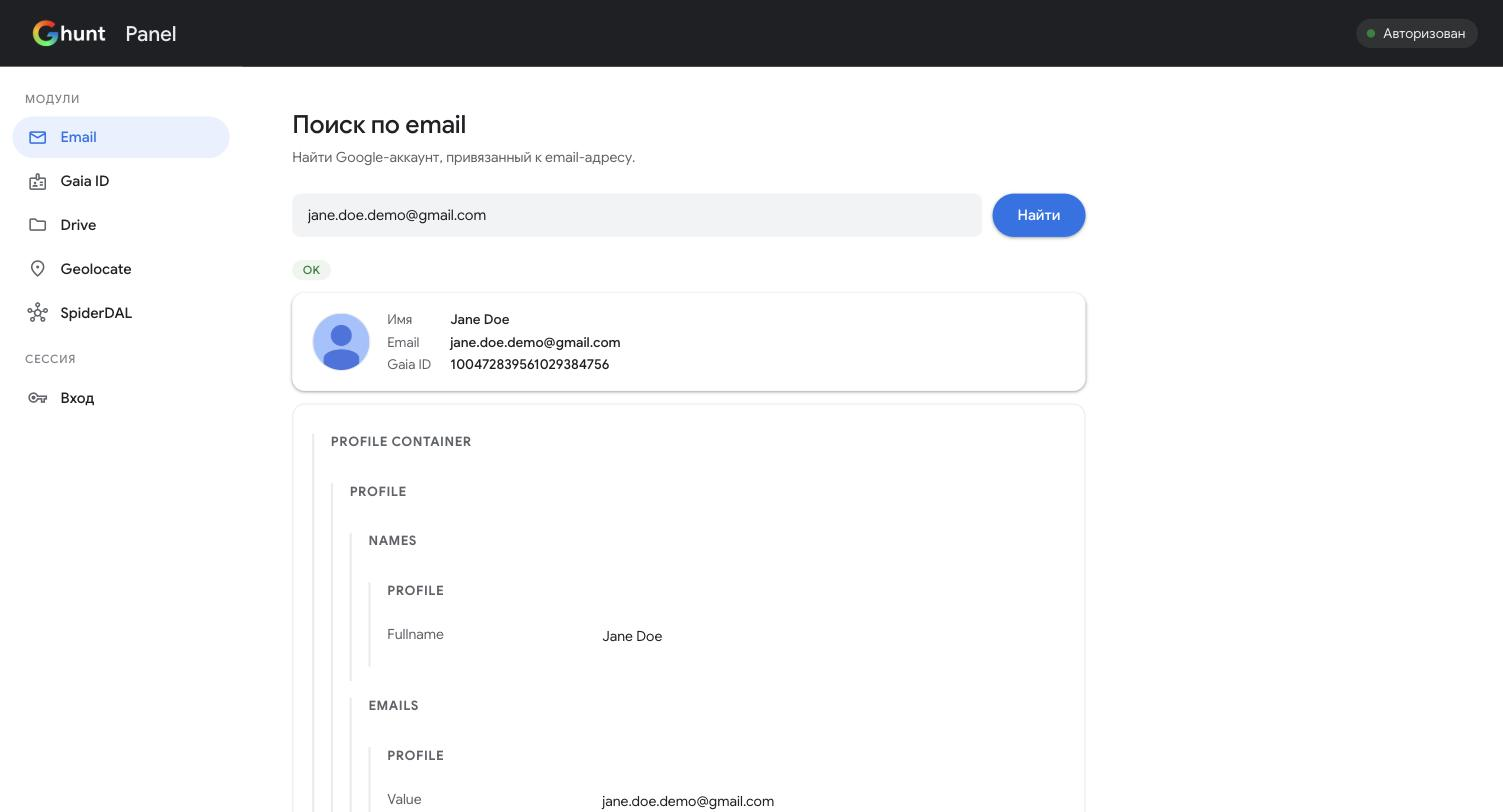
Shown with synthetic demo data — no real account was looked up for this screenshot.
Features
- Sidebar with all GHunt modules: email, gaia id, drive, geolocate, spiderdal
- Three ways to authenticate: GHunt Companion extension (base64), a manual
oauth_tokenextracted from DevTools, or a raw master token — each with an in-app step-by-step guide - Results render as readable cards (name, avatar, dates, links, booleans) instead of raw JSON by default, with the full JSON tree one click away (searchable, expandable, copyable)
- Live session status indicator (logged in / not logged in /
ghuntnot installed) - One-click logout that wipes GHunt's local credentials file
Installation
Requires Python 3.10+.
git clone <this-repo-url> ghunt-panel
cd ghunt-panel
pip install -e .
This installs both ghunt-panel and its dependency ghunt (the upstream CLI) into your
current environment. A plain requirements.txt is also provided if you'd rather manage
the install yourself:
pip install -r requirements.txt
Using a virtual environment is recommended either way:
python3 -m venv venv
source venv/bin/activate   # Windows: venv\Scripts\activate
pip install -e .
Usage
ghunt-panel
This starts a Flask server bound to 127.0.0.1:5151 — open http://127.0.0.1:5151 in
your browser. The port can be changed with the PORT environment variable:
PORT=8080 ghunt-panel
The panel is local-only by design: it binds to 127.0.0.1, never 0.0.0.0, and is
not meant to be exposed to a network or the internet.
Logging in
GHunt needs a valid Google session to run lookups. The auth tab in the panel walks through two options:
- GHunt Companion browser extension (Chrome / Firefox) — install it, sign in to Google in that browser, click the extension icon, and paste the base64 string it gives you.
- Manual, no extension — open Google's device-auth flow, sign in, then copy the
oauth_tokencookie value from your browser's DevTools (Application → Cookies). Both methods and every step are documented inline in the app.
You can also paste a raw master token directly if you already have one.
Modules
Each tab maps to a GHunt CLI command:
| Tab | Command | Input |
|---|---|---|
ghunt email <address> |
Google account email | |
| gaia id | ghunt gaia <id> |
Gaia ID (numeric account identifier) |
| drive | ghunt drive <file_id> |
Google Drive file/folder ID |
| geolocate | ghunt geolocate -b <bssid> |
Wi-Fi access point BSSID/MAC |
| spiderdal | ghunt spiderdal [-p pkg] [-f fingerprint] [-u url] |
Android package, cert fingerprint, and/or URL |
Security & privacy
- Everything runs locally. The panel never sends your data anywhere except to Google's
own APIs, and only via the
ghuntCLI itself — the same requests the official CLI would make. - The
oauth_token/ master token you paste into the auth tab is equivalent to your Google account password. It is used once to runghunt loginlocally and is not logged, transmitted, or stored by this panel — GHunt itself persists it (encoded) at~/.malfrats/ghunt/creds.m, exactly as it does for CLI-only usage. - Use this tool only against accounts and targets you're authorized to investigate (your own accounts, authorized pentests/CTFs, or otherwise consented OSINT work).
Comments