How To Make Export To Google Sheet From Datatables with PHP & Javascript
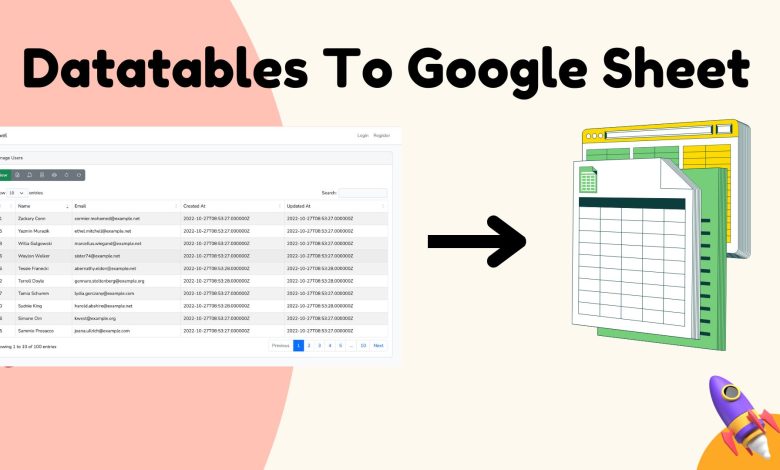
If you’re dealing with tables of data in your app and you want to push it over to Google Sheets with just a click, you’re in the right place. This isn’t just theoretical fluff; it’s a step-by-step guide to setting up that smooth, single-click export action that can save you and your team a load of hassle.
Why Bother Exporting to Google Sheets?
Sometimes, a simple CSV download or Excel file doesn’t cut it. Google Sheets is where a lot of teams collaborate, and putting data directly into Sheets means no extra downloads or uploads. Just click, open, and bam—there’s your data. If you work in a team that lives in Google Workspace, this is going to be a massive time-saver.
Step 1: Get Set Up with Google APIs
First, we need to get Google’s blessing to use Sheets and Drive. It’s a one-time setup, but you’ll need to get it right.
- Make a Google Cloud Project: Head over to Google Cloud Console and create a project (it’s free). Think of it like setting up your account to work with Google’s tools.
- Turn On the APIs: In your project, look for “APIs & Services” and enable the Google Sheets API and Google Drive API. This lets your project talk to Sheets and share files.
- Grab Your Credentials: Generate an OAuth 2.0 client ID and download the
credentials.jsonfile. This file is like your key to access Google’s services, so keep it handy.
Step 2: Add the Export Button in DataTables
Next, we’ll add a custom button to DataTables that’ll trigger the export. This button will call our JavaScript function to send data to Google Sheets.
In your JavaScript file where you’re setting up DataTables, add this:
buttons: [
    {
        text: 'Export to Google Sheets',
        action: function (e, dt, button, config) {
            var data = dt.buttons.exportData();
            exportToSheets(data); // Calls our function to handle the export
        }
    }
]
Here’s what this does: the text is the label you’ll see on the button. The action is a function that grabs your table data and calls the exportToSheets function to send it over to Google Sheets. Simple enough? Let’s keep rolling.
Step 3: Write the JavaScript Export Function
Now we need to create that exportToSheets function. This function takes our DataTable data and sends it over to a PHP script that does the magic of creating and populating the Google Sheet.
Here’s what the JavaScript should look like:
function exportToSheets(data) {
    $.ajax({
        type: "POST",
        url: "ajax/exporttosheets.php",
        data: { data: data },
        success: function(response) {
            window.open(response, '_blank'); // Opens the Google Sheet in a new tab
        }
    });
}
This function uses jQuery’s ajax method to send the data to our PHP script (exporttosheets.php). Once it’s done, it’ll open the Google Sheet in a new tab using the link returned from the PHP file.
Step 4: Write the PHP Script to Connect with Google Sheets
Alright, now for the main event—the PHP code that connects with Google Sheets, creates a new sheet, and loads it with data.
In exporttosheets.php, add the following:
<?php
if (!empty($_POST['data'])) {
    $data = $_POST['data'];
    $header = $data["header"];
    $body = $data["body"];

    include('../vendor/autoload.php'); // Loads Google client library

    // Google Client Setup
    $client = new \Google_Client();
    $client->setApplicationName('Create Sheet');
    $client->setScopes([\Google_Service_Sheets::SPREADSHEETS, \Google_Service_Drive::DRIVE]);
    $client->setAuthConfig('../credentials.json');

    $service = new Google_Service_Sheets($client);

    // Create a new Google Sheet
    $spreadsheet = new Google_Service_Sheets_Spreadsheet([
        'properties' => ['title' => 'Data Export']
    ]);
    $spreadsheet = $service->spreadsheets->create($spreadsheet, ['fields' => 'spreadsheetId']);
    $fileId = $spreadsheet->spreadsheetId;

    // Share Sheet with the user
    $driveService = new Google_Service_Drive($client);
    $permission = new Google_Service_Drive_Permission();
    $permission->setEmailAddress("[email protected]"); // Change to the email you want to share with
    $permission->setType('user');
    $permission->setRole('writer');
    $driveService->permissions->create($fileId, $permission);

    // Add Data to the Sheet
    $range = 'Sheet1';
    $body = new Google_Service_Sheets_ValueRange(['values' => $body]);
    $params = ['valueInputOption' => 'RAW'];
    $service->spreadsheets_values->append($fileId, $range, $body, $params);

    echo "https://docs.google.com/spreadsheets/d/$fileId"; // Return Sheet URL
}
?>
Let’s break this down. The PHP script does a few things:
- Loads Google API Library: We use Google’s client library to handle authentication and API calls.
- Creates a New Sheet: It creates a new Google Sheet with a title like “Data Export” (you can change this).
- Shares the Sheet: Sets up permissions so the specified email address has access to the new sheet.
- Populates the Sheet: Adds the data from our DataTable into the Google Sheet.
Finally, it returns the URL of the newly created Google Sheet so the JavaScript function can open it up in a new tab.
Step 5: Tying It All Together
With everything set up, here’s what’ll happen when you click “Export to Google Sheets”:
- The JavaScript code grabs the DataTable data and sends it to our PHP script.
- The PHP script creates a Google Sheet, loads the data into it, and sets up access.
- The script then sends back the URL of the Google Sheet, which is opened in a new tab.
Wrapping Up
There you go! You’ve now set up an export function that takes data straight from DataTables into Google Sheets. No need for downloading and uploading files—it’s all streamlined with one click. With this, you’ll be able to keep your data organized, accessible, and ready for team collaboration in Google Sheets. Happy coding!
