Turn Your Node.js Apps Into Standalone Executables with NodePacker
Building Node.js applications is great, but distributing them can be a real headache. You need to make sure users have Node.js installed, the right version, all the dependencies, and proper environment setup. What if I told you there’s a better way?
Meet NodePacker – a C# tool that solves this problem by packaging your entire Node.js application into a single executable file. No more installation nightmares, no more “it works on my machine” situations.
The Problem With Traditional Node.js Distribution
When you want to share your Node.js application with others, you typically face these challenges:
- Users need to install Node.js first
- Version compatibility issues between different Node.js versions
- Missing dependencies or installation failures
- Complex setup instructions that scare away non-technical users
- Different behavior across different operating systems
These issues make it hard to distribute Node.js applications to end users who just want something that works out of the box.
What NodePacker Does
NodePacker takes a completely different approach. Instead of asking users to set up an environment, it creates a self-contained executable that includes everything needed to run your application:
- The Node.js runtime itself
- Your application code
- All production dependencies
- A smart launcher that handles everything automatically
The result? A single .exe file that runs anywhere, no installation required.
How It Works Under the Hood
The magic happens through a clever packaging process:
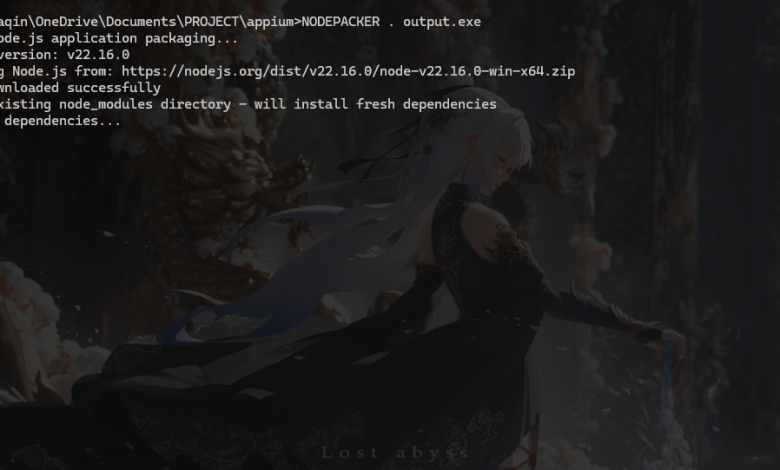
- Automatic Node.js Download: NodePacker fetches the latest LTS version of Node.js automatically
- Smart File Copying: It copies your application files while intelligently excluding existing node_modules
- Fresh Dependencies: Installs production dependencies from scratch to avoid conflicts
- Resource Embedding: Bundles everything into a C# executable as embedded resources
- Runtime Extraction: When launched, the executable extracts and runs your Node.js app
This approach ensures compatibility and eliminates the usual distribution headaches.
Getting Started
Setting up NodePacker is straightforward. You need .NET Framework 4.0 or higher and Visual Studio or the .NET SDK for compilation.
First, clone the repository:
|
1 2 3 |
git clone https://github.com/imtaqin/NODEPACKER.git cd NODEPACKER |
Build the project:
|
1 2 |
dotnet build |
Now you can package any Node.js application:
|
1 2 |
NodeJsPacker.exe "C:\MyNodeApp" "C:\Output\MyApp.exe" |
That’s it. You’ll get a standalone executable that contains your entire application.
Real-World Use Cases
NodePacker shines in several scenarios:
Corporate Software Distribution: Companies can distribute internal Node.js tools without worrying about employee workstation configurations.
Client Deliverables: Freelancers and agencies can deliver Node.js applications to clients as simple executables.
Desktop Applications: Turn your Node.js apps into desktop software that feels native to users.
Legacy System Integration: Package Node.js utilities for environments where installing Node.js directly isn’t possible or practical.
Educational Tools: Teachers can distribute Node.js-based learning tools to students without complex setup instructions.
Architecture That Scales
What sets NodePacker apart is its professional architecture. The codebase follows clean architecture principles with proper separation of concerns:
- Service Layer: Handles core business logic with dependency injection ready
- Utility Classes: Reusable helpers for common operations
- Interface-Based Design: Makes the code testable and maintainable
- Modular Structure: Easy to extend or modify individual components
This isn’t just a quick script – it’s enterprise-ready software that you can build upon.
Smart Features You’ll Love
NodePacker includes several intelligent features that make it a joy to use:
Automatic Entry Point Detection: If your package.json doesn’t specify a main file, NodePacker looks for common entry points like index.js, app.js, main.js, or server.js.
Argument Passing: The generated executable properly forwards command-line arguments to your Node.js application.
Cross-Platform Support: While the tool itself runs on Windows, it can package applications for different platforms.
Clean Temporary Files: All temporary files are automatically cleaned up, even if something goes wrong during packaging.
Performance Considerations
The packaged executables start quickly because NodePacker uses an efficient extraction and caching mechanism. The first run extracts resources to a temporary directory, and subsequent runs reuse extracted files when possible.
File sizes are reasonable considering what’s included. A typical package adds about 50-80MB for the Node.js runtime, which is acceptable for most applications.
Looking Forward
The NodePacker project has an exciting roadmap ahead:
- Support for custom Node.js versions
- A graphical user interface for non-technical users
- Docker integration for containerized workflows
- Plugin system for custom packaging logic
- Enhanced cross-platform compilation
- Size optimization features
Why This Matters
NodePacker represents a shift in how we think about Node.js application distribution. Instead of treating Node.js as something that needs to be installed separately, we can bundle it with our applications just like any other dependency.
This approach opens up new possibilities for Node.js in desktop software, enterprise tools, and any scenario where ease of deployment matters more than optimal file size.
Getting Involved
NodePacker is open source and welcomes contributions. Whether you’re fixing bugs, adding features, or improving documentation, there are plenty of ways to get involved.
The project lives at github.com/imtaqin/NODEPACKER, where you can find the latest code, report issues, and join discussions about future development.
Final Thoughts
Distribution shouldn’t be the hardest part of software development. NodePacker makes it easy to turn your Node.js applications into professional, distributable software that anyone can run.
If you’ve been frustrated with the complexity of deploying Node.js applications to end users, give NodePacker a try. It might just change how you think about Node.js deployment forever.
The days of complex installation instructions and environment setup are over. Welcome to the era of truly portable Node.js applications.